I love creating, especially with natural objects. That’s why, when I decided to write The Homegrown Paleo Cookbook, I wanted to include some fun projects for people to do, that don’t involve baking trays of sugary junk food or using store bought kits.
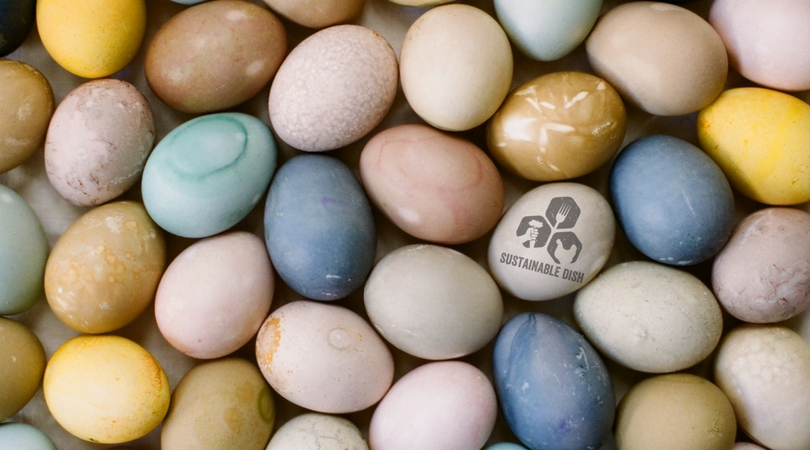
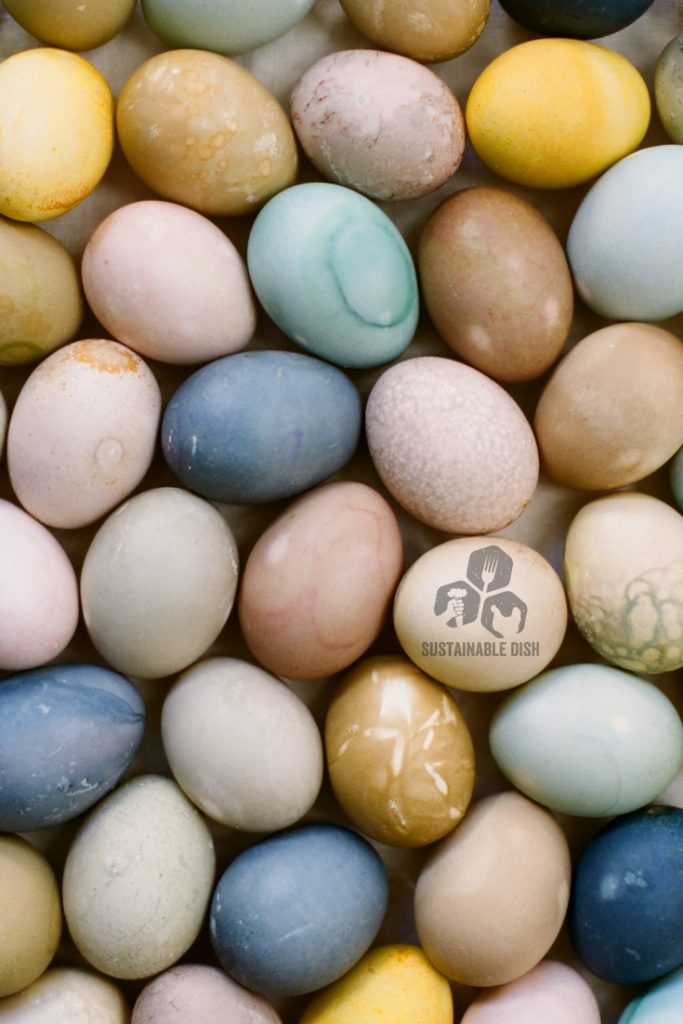
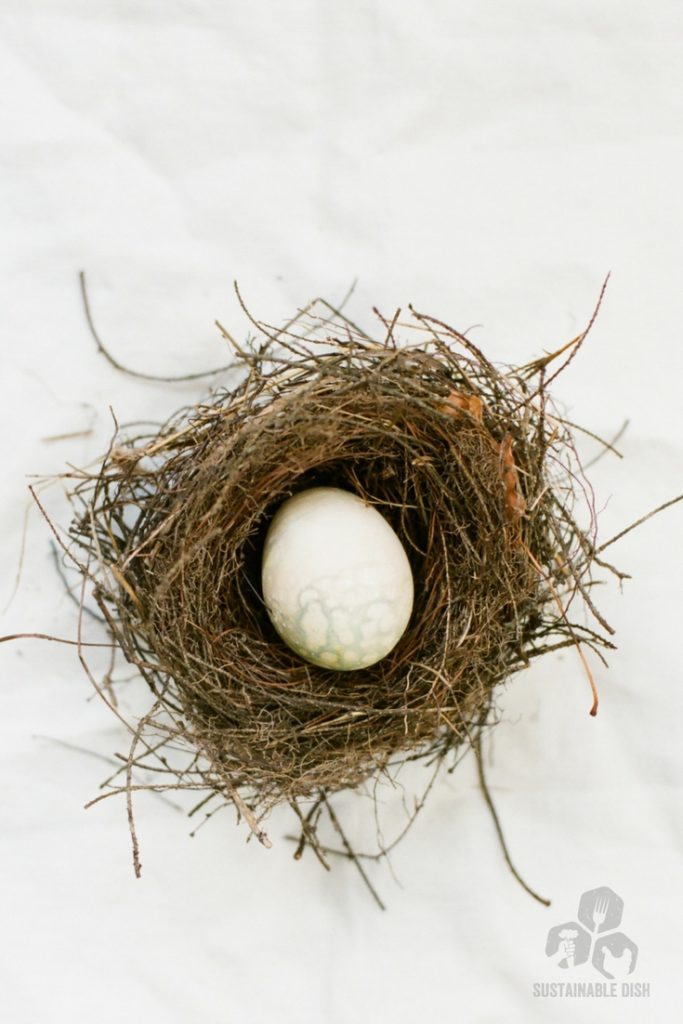
These naturally beautiful pastel eggs are so much lovelier than the sparkly neon eggs made from the kits that flood drugstores around Easter. There is an important lesson to be learned here: there is beauty in the imperfect. These eggs turn out speckled and sometimes have odd spots or blotches, and each one is unique and gorgeous. My kids were particularly surprised to see how red cabbage leaves made the eggs beautifully blue. Who needs chemical kits, jelly beans and cheap chocolate bunnies when you can color eggs at home with common kitchen items?
You will need
White eggs
1 tablespoon white vinegar
1 tablespoon salt
3 cups water
Medium saucepan
Needle or small nail (optional)
For the colors
Speckled pink: 1 cup raspberries
Deep blue: 1 cup blueberries
Deep golden yellow: 3 tablespoons turmeric
Olive green: 1 big handful grass
Light grey: 1 cup cherries
Robin’s-egg blue: 5 leaves red cabbage
Brownish red: 3 red beets
Pale orange: 4 yellow onion skins
- If you want to eat the eggs after you color them, boil them in a medium saucepan for 1 minute, remove from heat, then cover and let sit for 10 to 12 minutes. Then run the eggs under cold water or cool in an ice bath for 5 minutes.
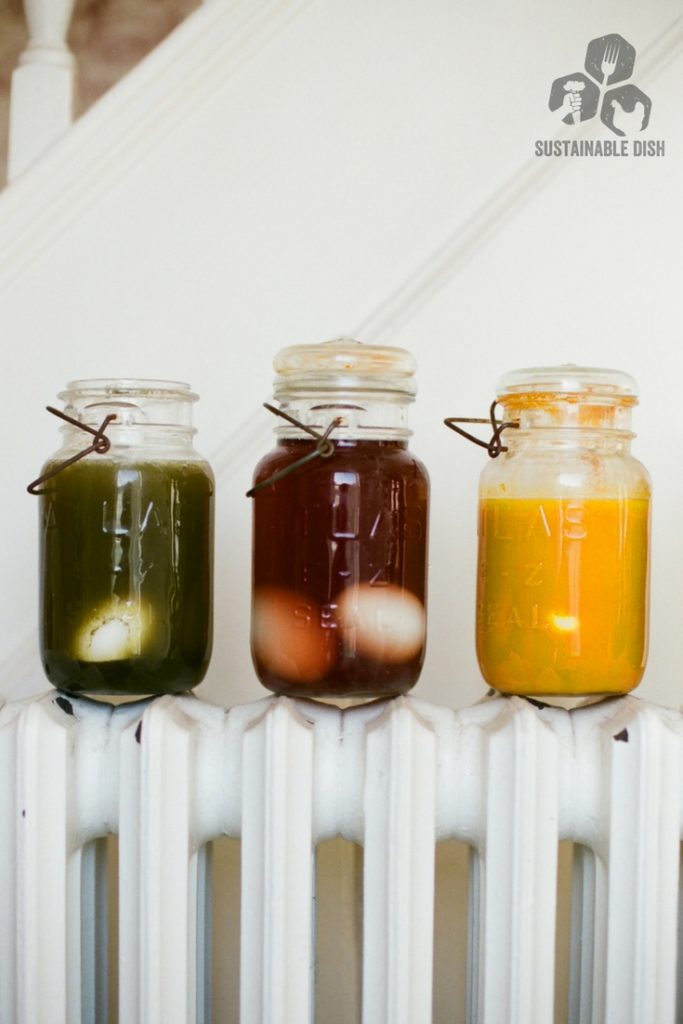
Alternatively, you can boil the eggs right in the pot with the colorant, which imparts a texture on the eggs (grass did this particularly well) and produces a deeper color.
- Next, combine the vinegar, salt, water, and desired colorant in a medium saucepan and boil for 10 minutes.
- If you aren’t boiling the eggs with the colorant, after 10 minutes, strain out the colorant and let the liquid cool, then add the eggs.
- Once you’re happy with the color of the eggs, remove them from the liquid. If you haven’t hard-boiled your eggs, blow out the centers so that they will keep longer: Poke a hole in each end of the egg with a needle or small nail, insert the needle or nail to mix together the yolk and white, and then blow out the center. This process yields a paler color, but you’ll be able to collect the eggs from year to year.
- Coat the dyed eggs in coconut oil if you’d like to give them a slight shine. It’s really a fun process!
Tip: If you’re using beets as the colorant, leave the eggs in the dye for about 1 hour for a light red color. The longer you leave them in, the deeper brown they turn.
Check out my book, The Homegrown Paleo Cookbook, for more fun crafts like making beeswax candles and goat milk soap, plus great recipes and a complete guide to growing your own healthy food.


2 thoughts on “Naturally Dyed Easter Eggs”
Pingback: [BLOCKED BY STBV] 10 Tips for Teaching Kids to Have a Healthy Relationship with Food - Sustainable Dish
Our best batch of naturally dyed eggs yet! Thanks so much.
I had a bag of freeze dried blueberries in the pantry and had had them forever, so I decided to give those a go. I used your directions and boiled them … holy moly, they look fantastic! I may play with other freeze dried fruits in the future.